Troubleshooting Avigilon Audio Issue
Problem Statement
The audio volume is significantly lower when using the Genesis app compared to the Avigilon Test Client.
Troubleshooting Approach
This
document outlines a step-by-step approach to investigate and
troubleshoot the audio volume issue by examining audio operations using
three methods: the Avigilon ACC Client, the SDK Test Client, and the
Genesis Web App.
Step 1: Using the Avigilon Test Client
1. Download the Avigilon Test Client from the site URL: [Avigilon Software Downloads](https://www.avigilon.com/software-downloads)

2. Connect to OpenVPN to access the required network.
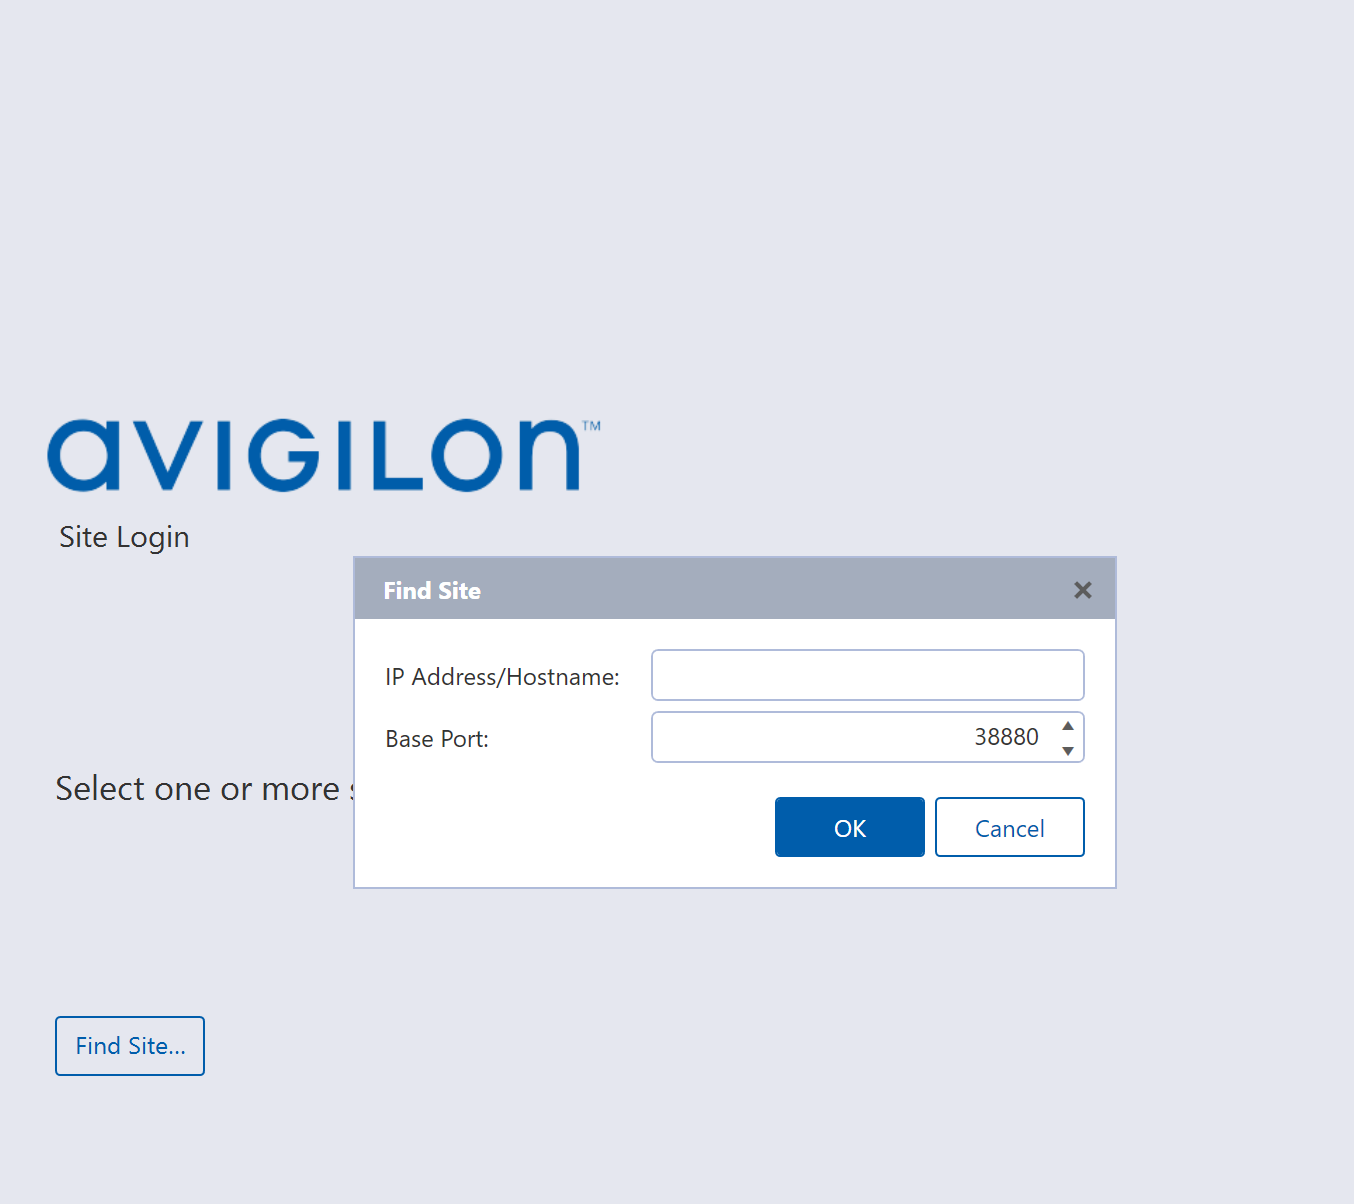
3. Open the Test Client and find the site using the IP address.
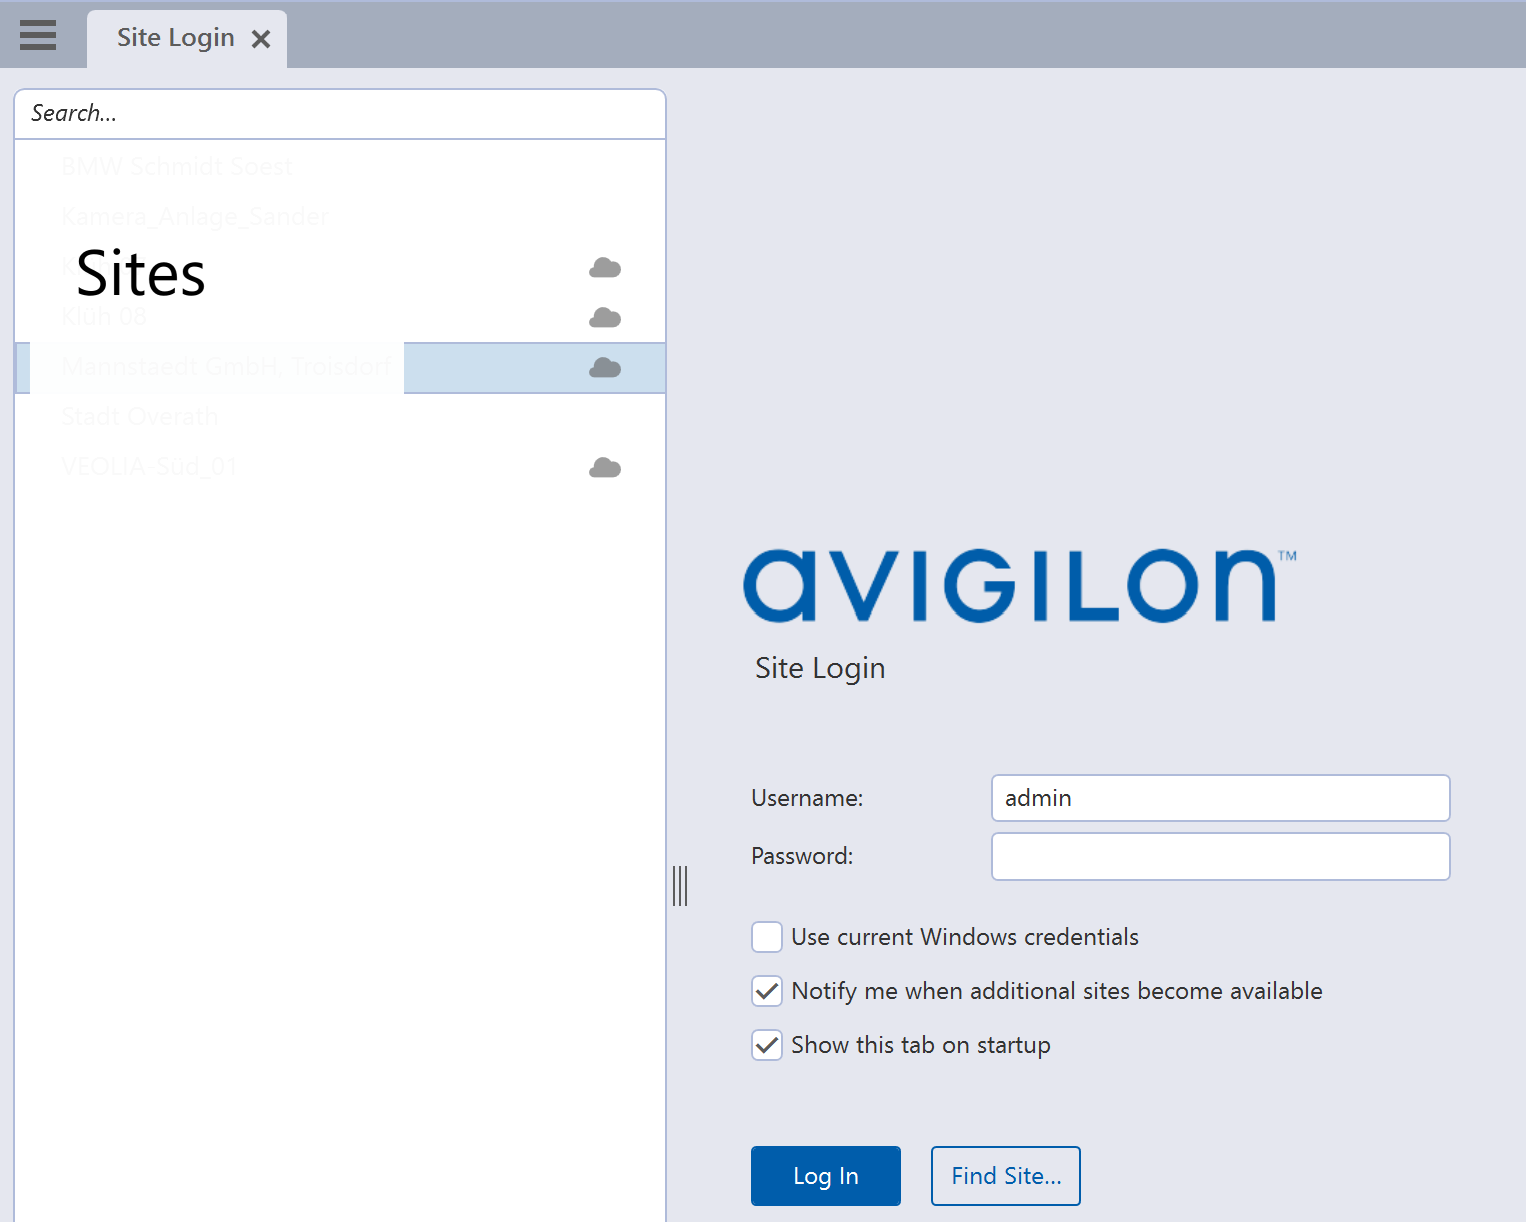
4. Login to the site using your credentials.
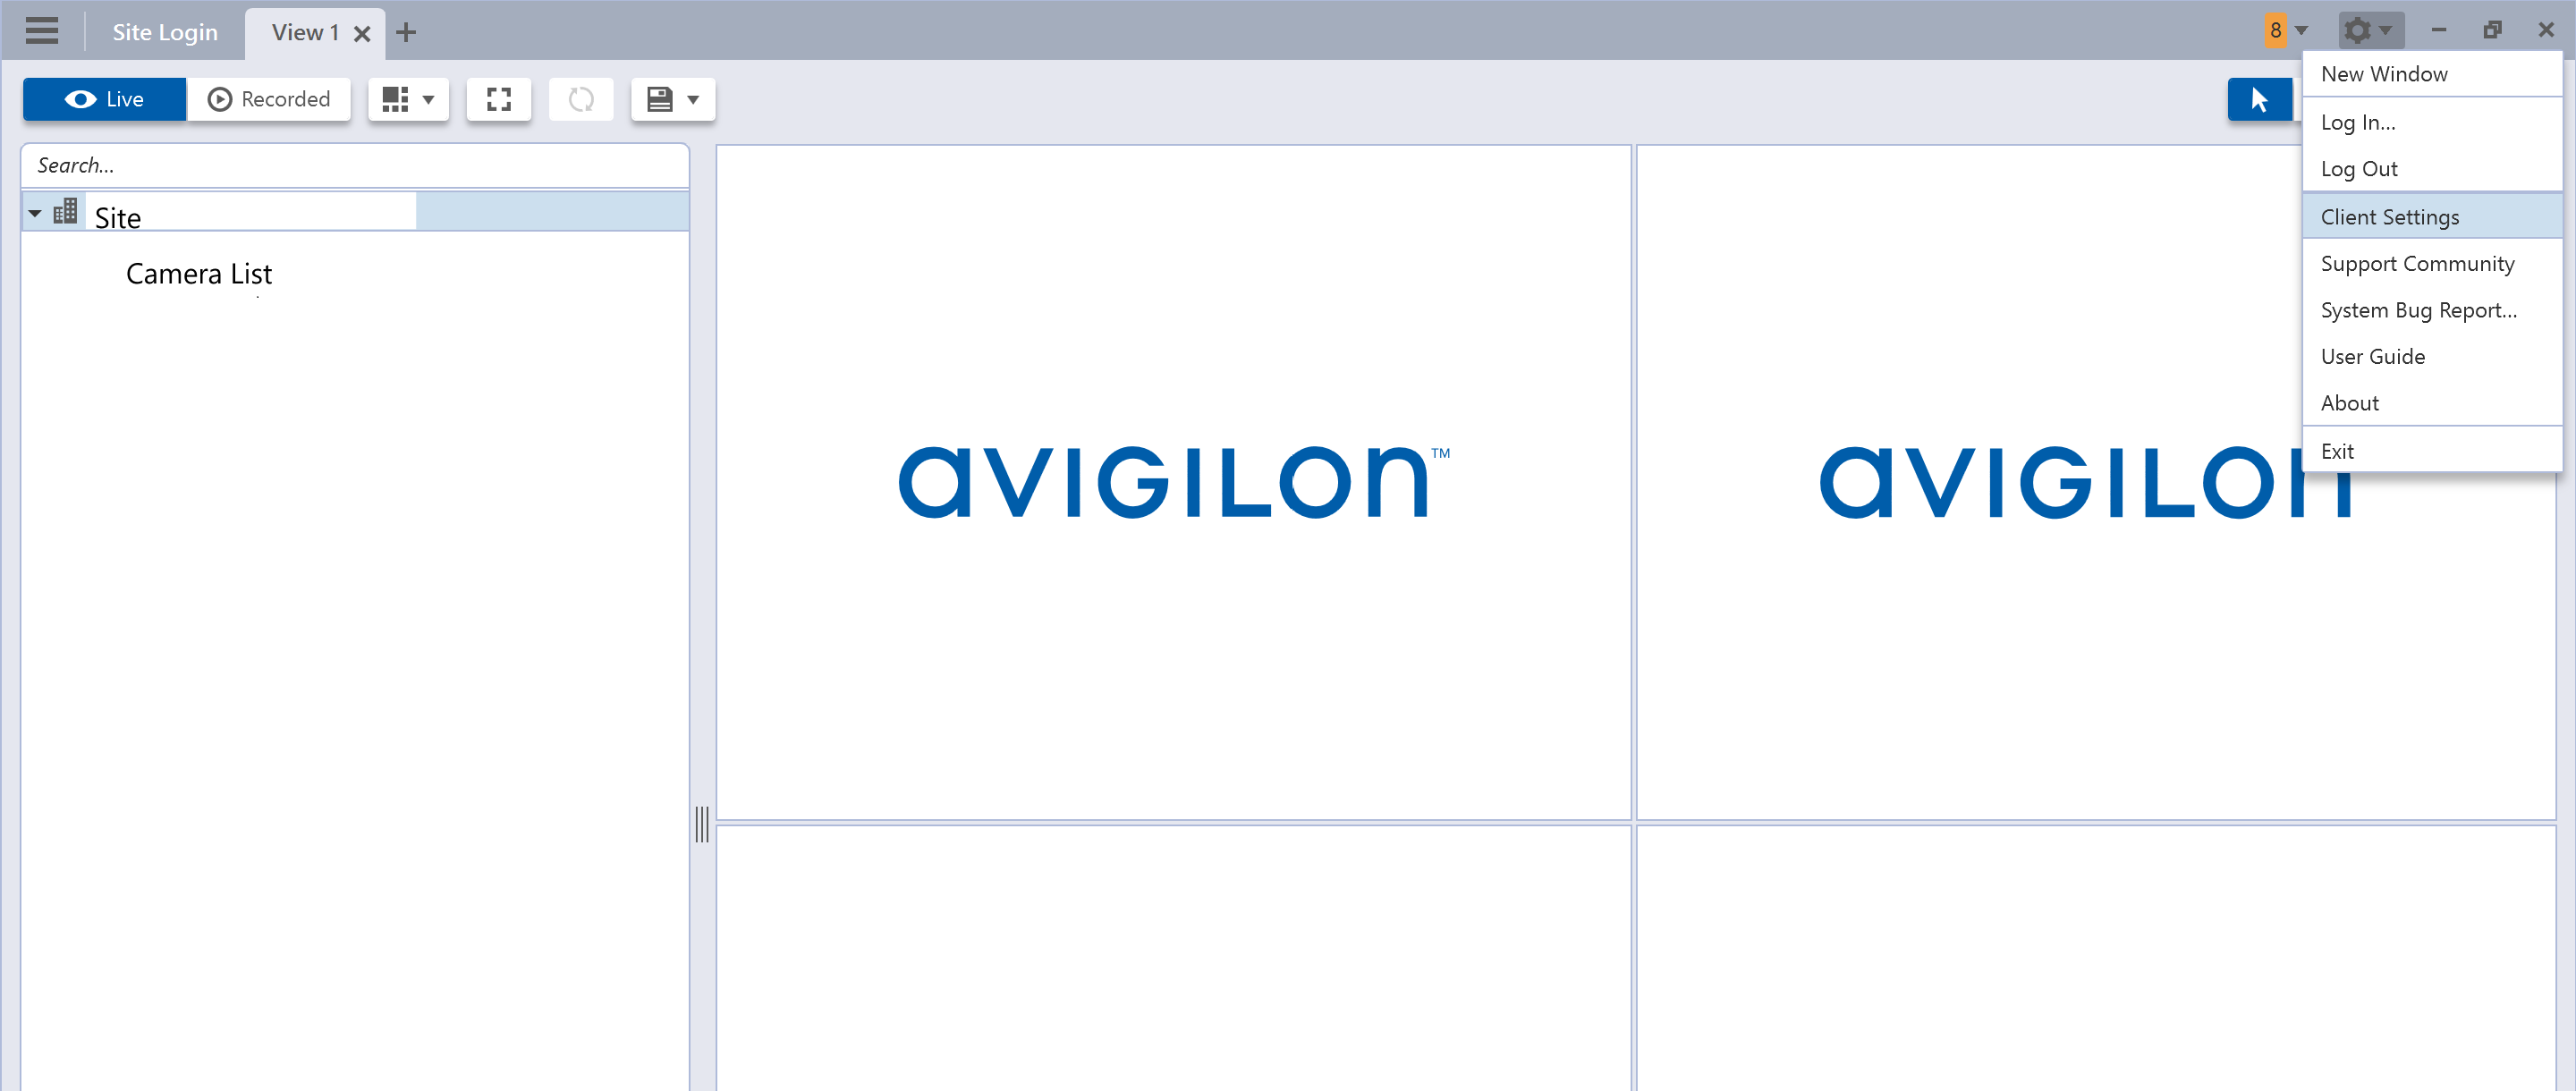
5. Access Client Settings:
- In the top corner, locate the client settings.
- Under client settings, go to the Site Networking section.
- Select the site you want and change the Connection Type to WAN (Secured).
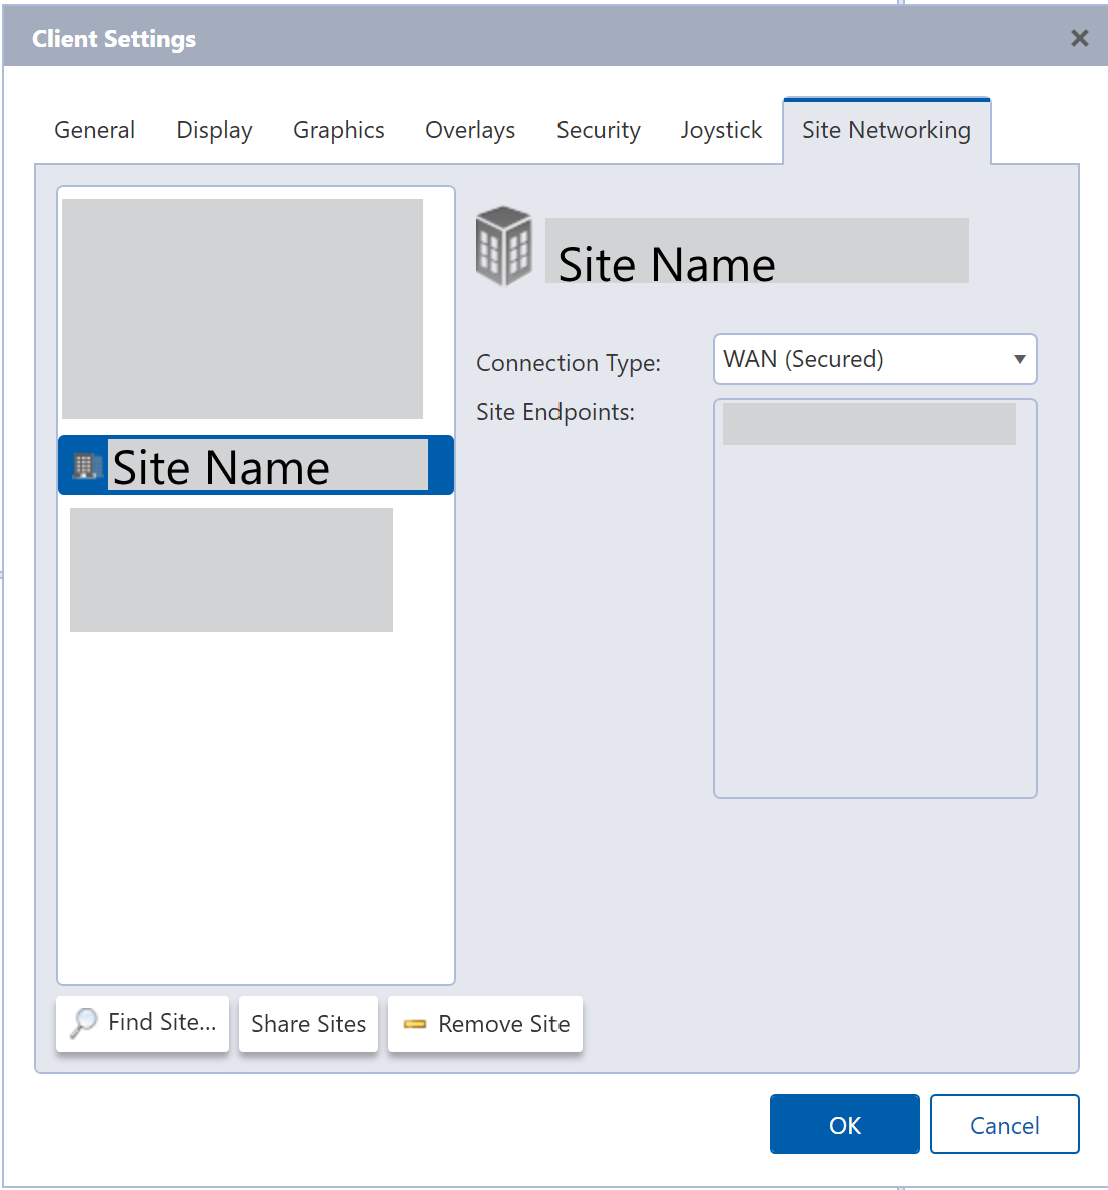
- Click OK to save the settings.
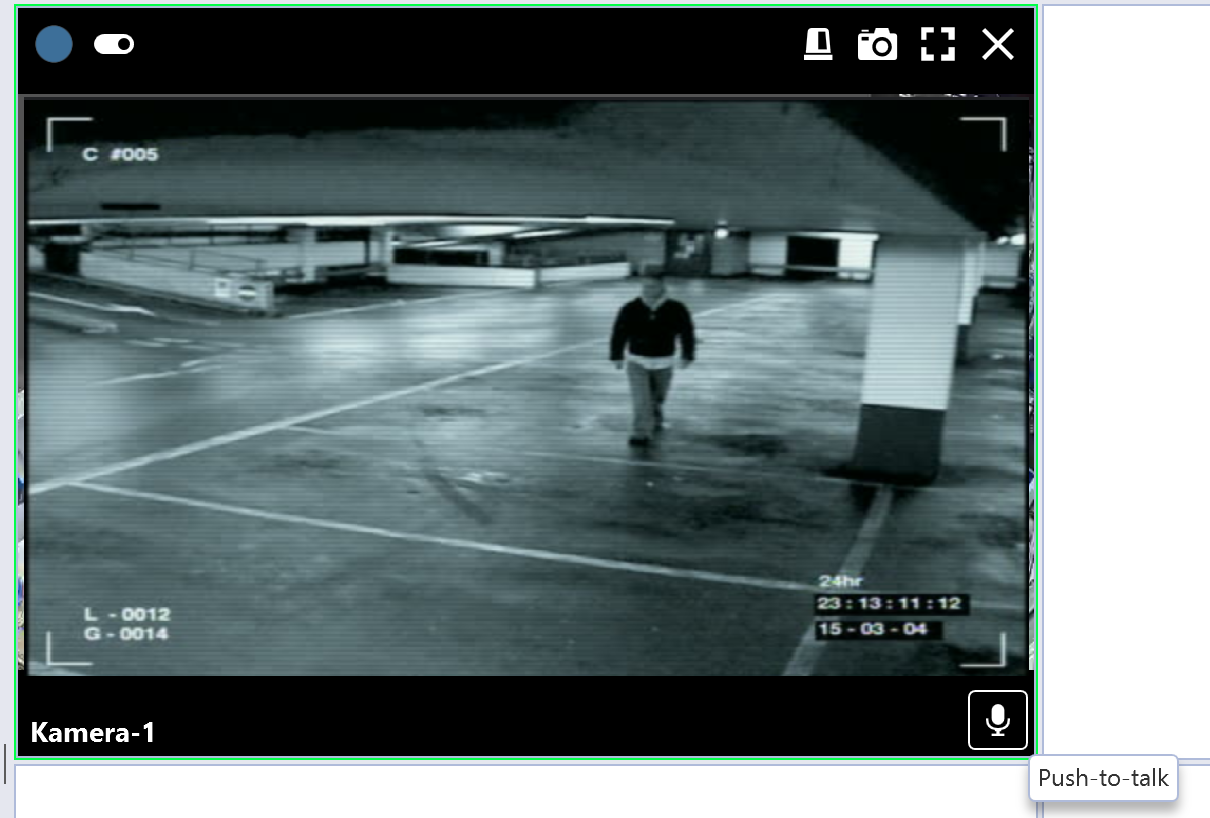
6. Stream the Camera:
- Hover the mouse over the camera display.
- Hold the mic icon to talk.
Step 2: Using the SDK Client
1. Locate the SDK Client at: `C:\nxg\execute\integration\Avigilon\DemoApp`
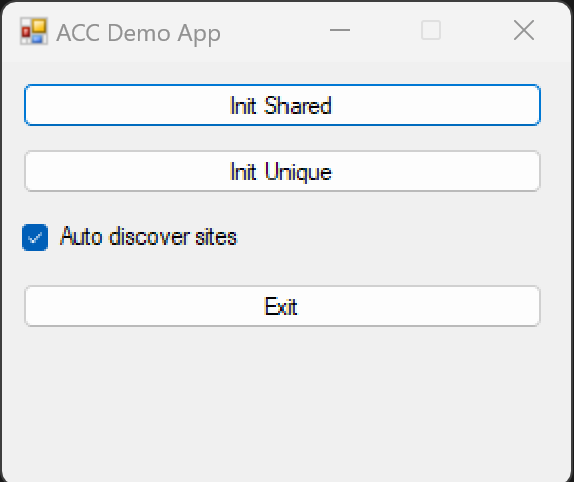
2. Open the SDK Client by double-clicking the Type :`Application` file.
3. Select the Init Shared option.
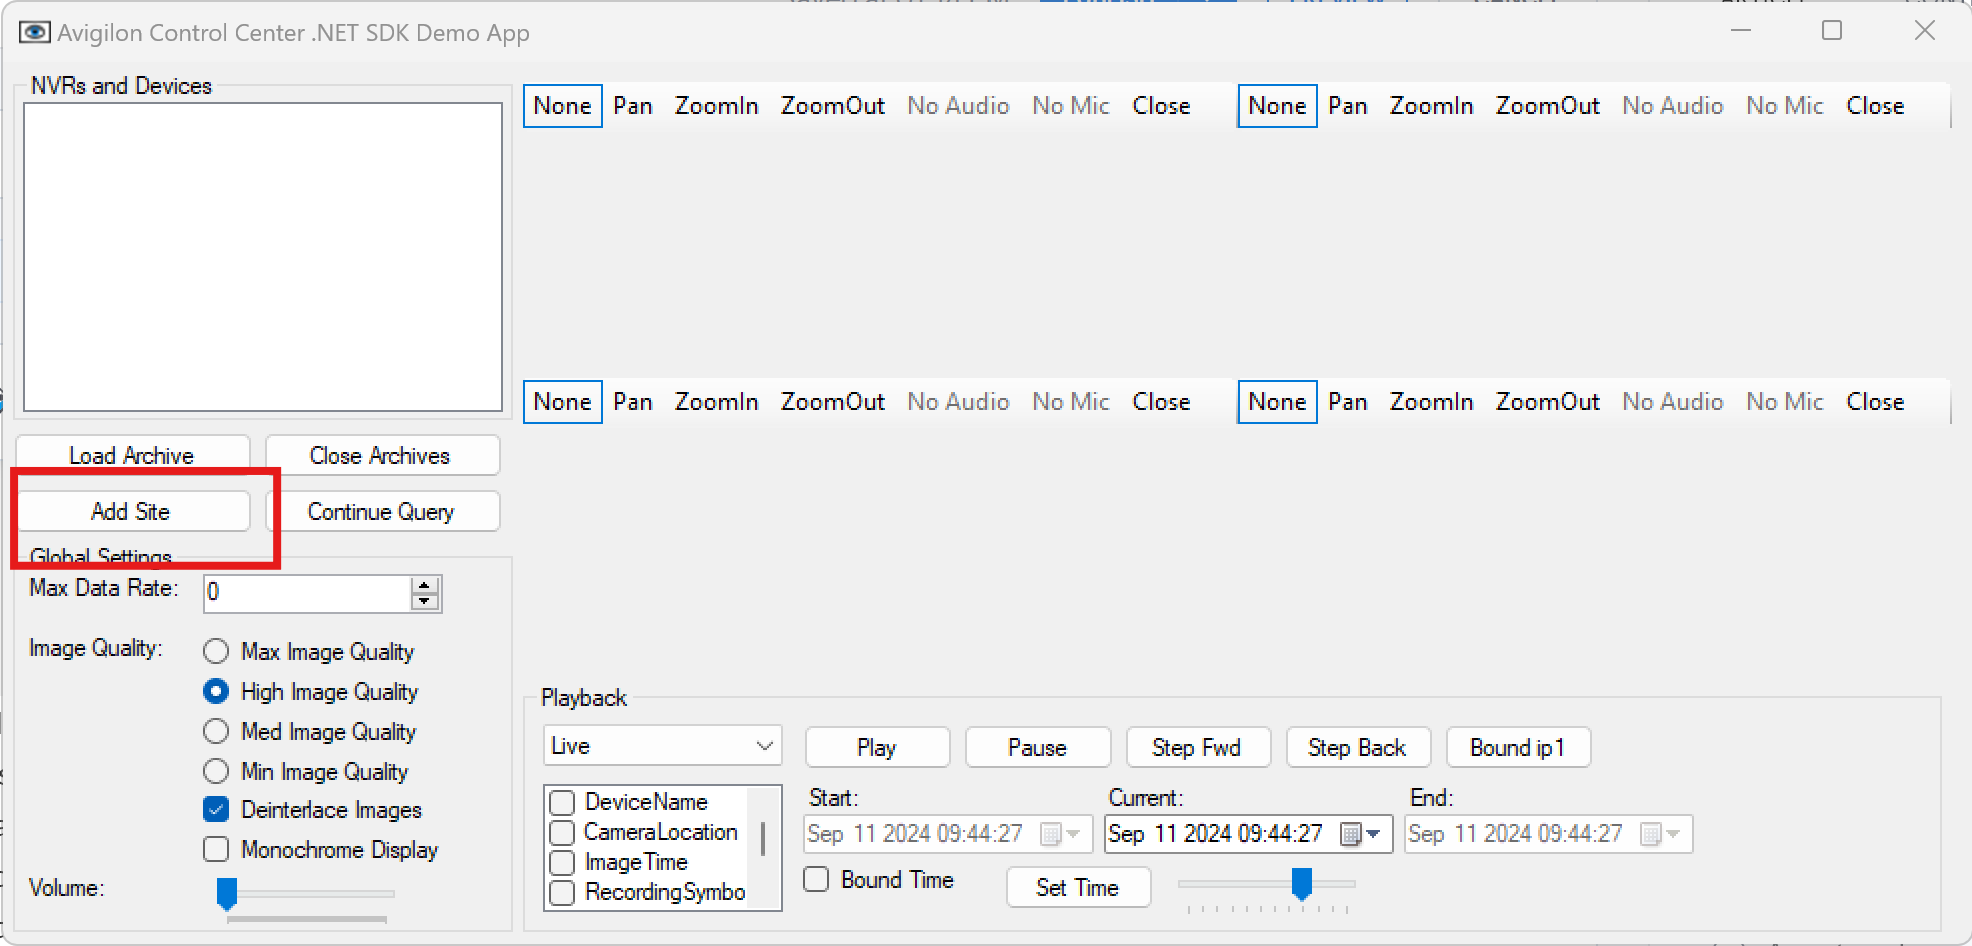
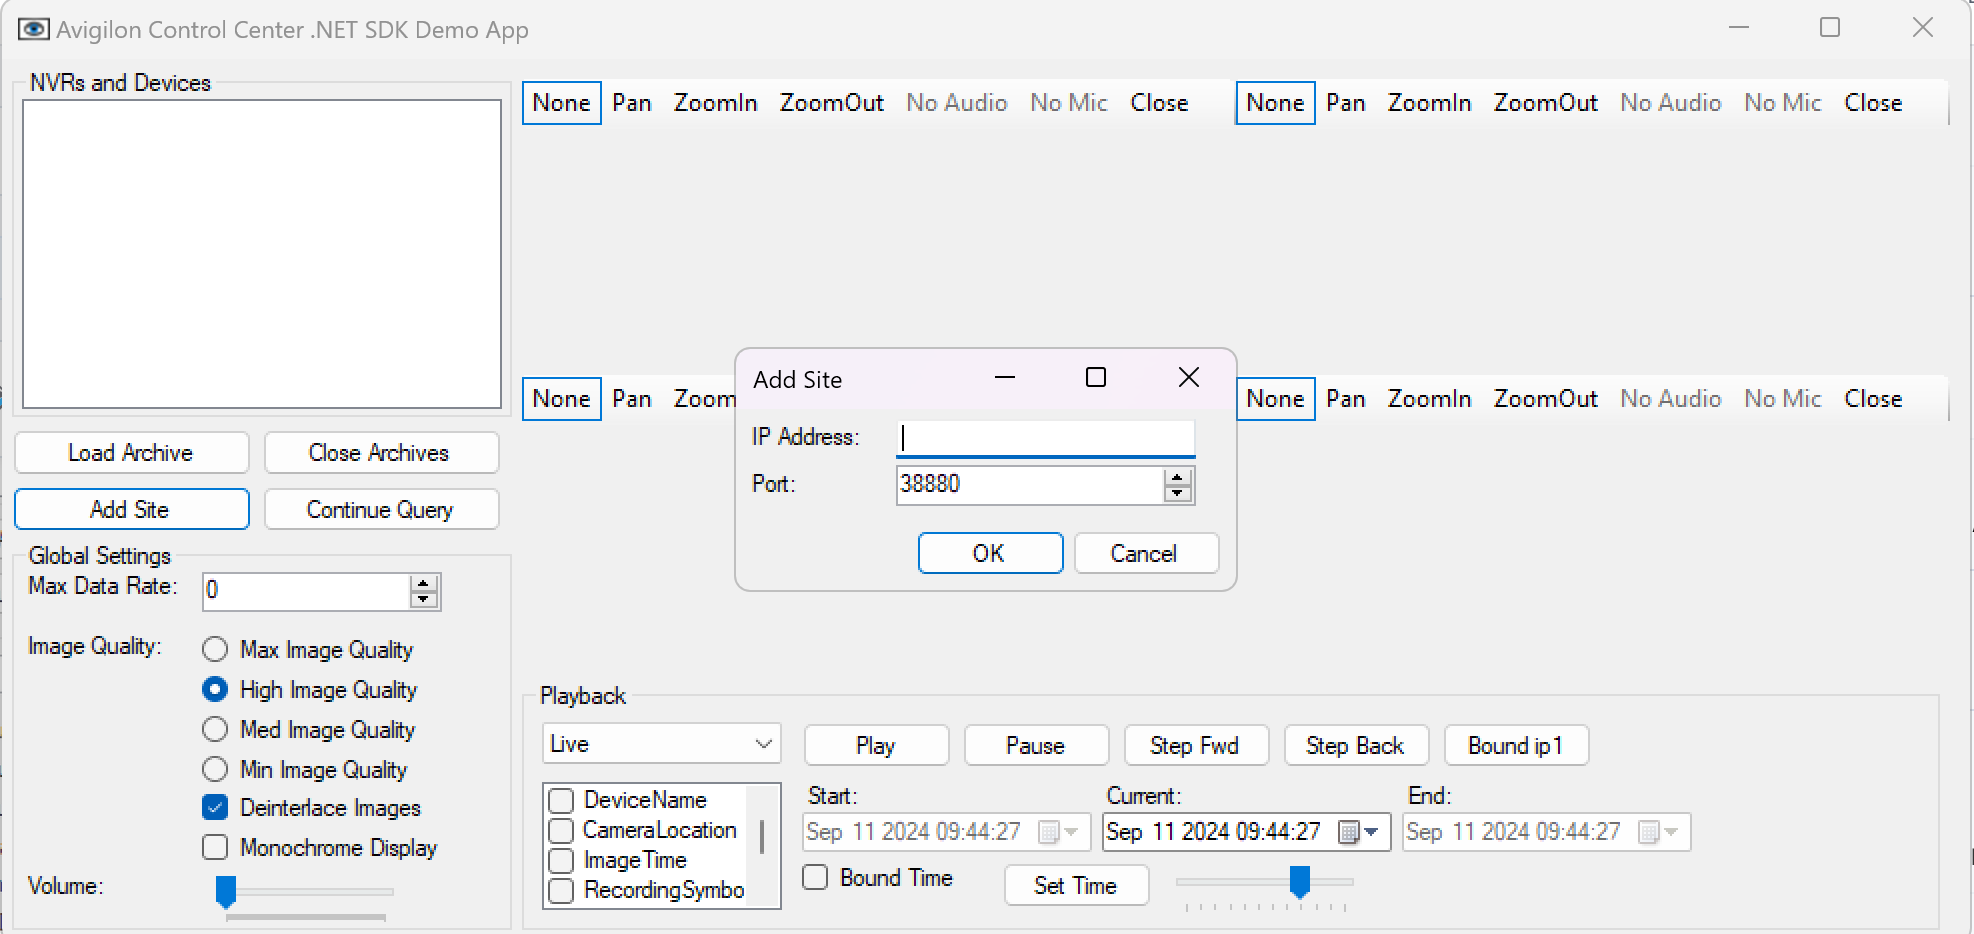
4. Click Add Site, enter the IP address, and click OK.
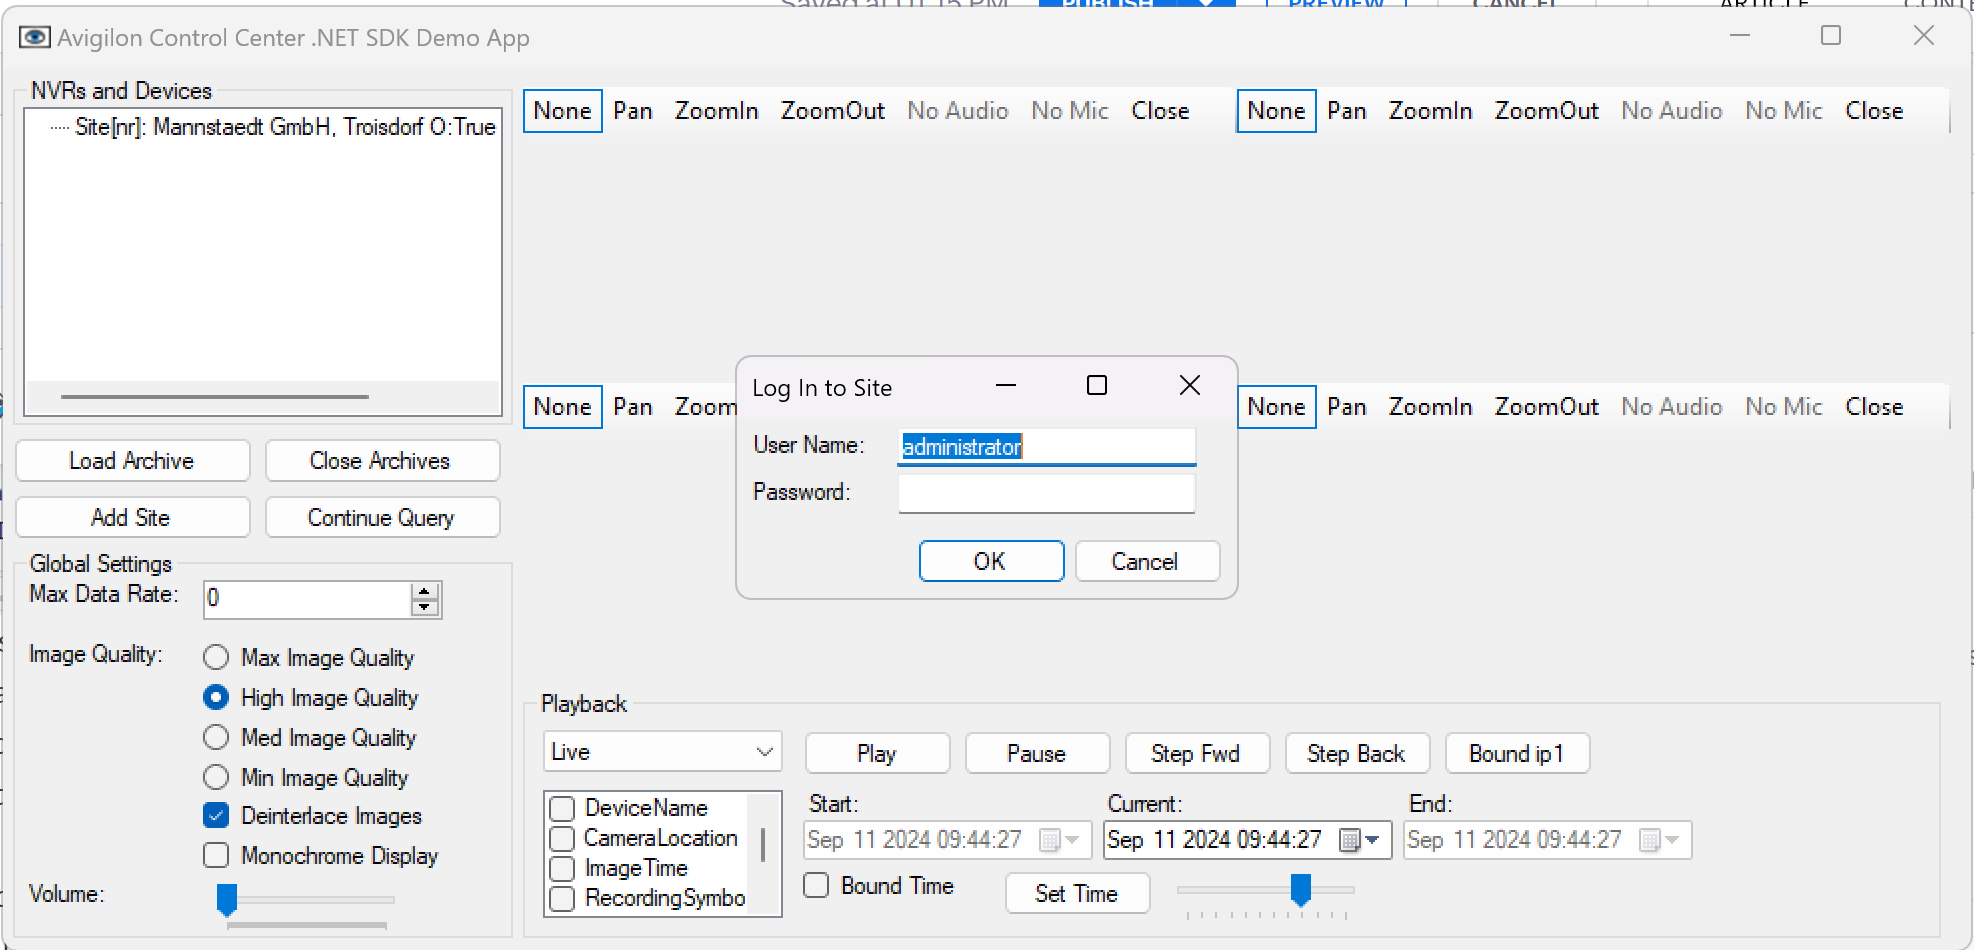
5. Right-click on the added site, select Login, and enter the credentials.
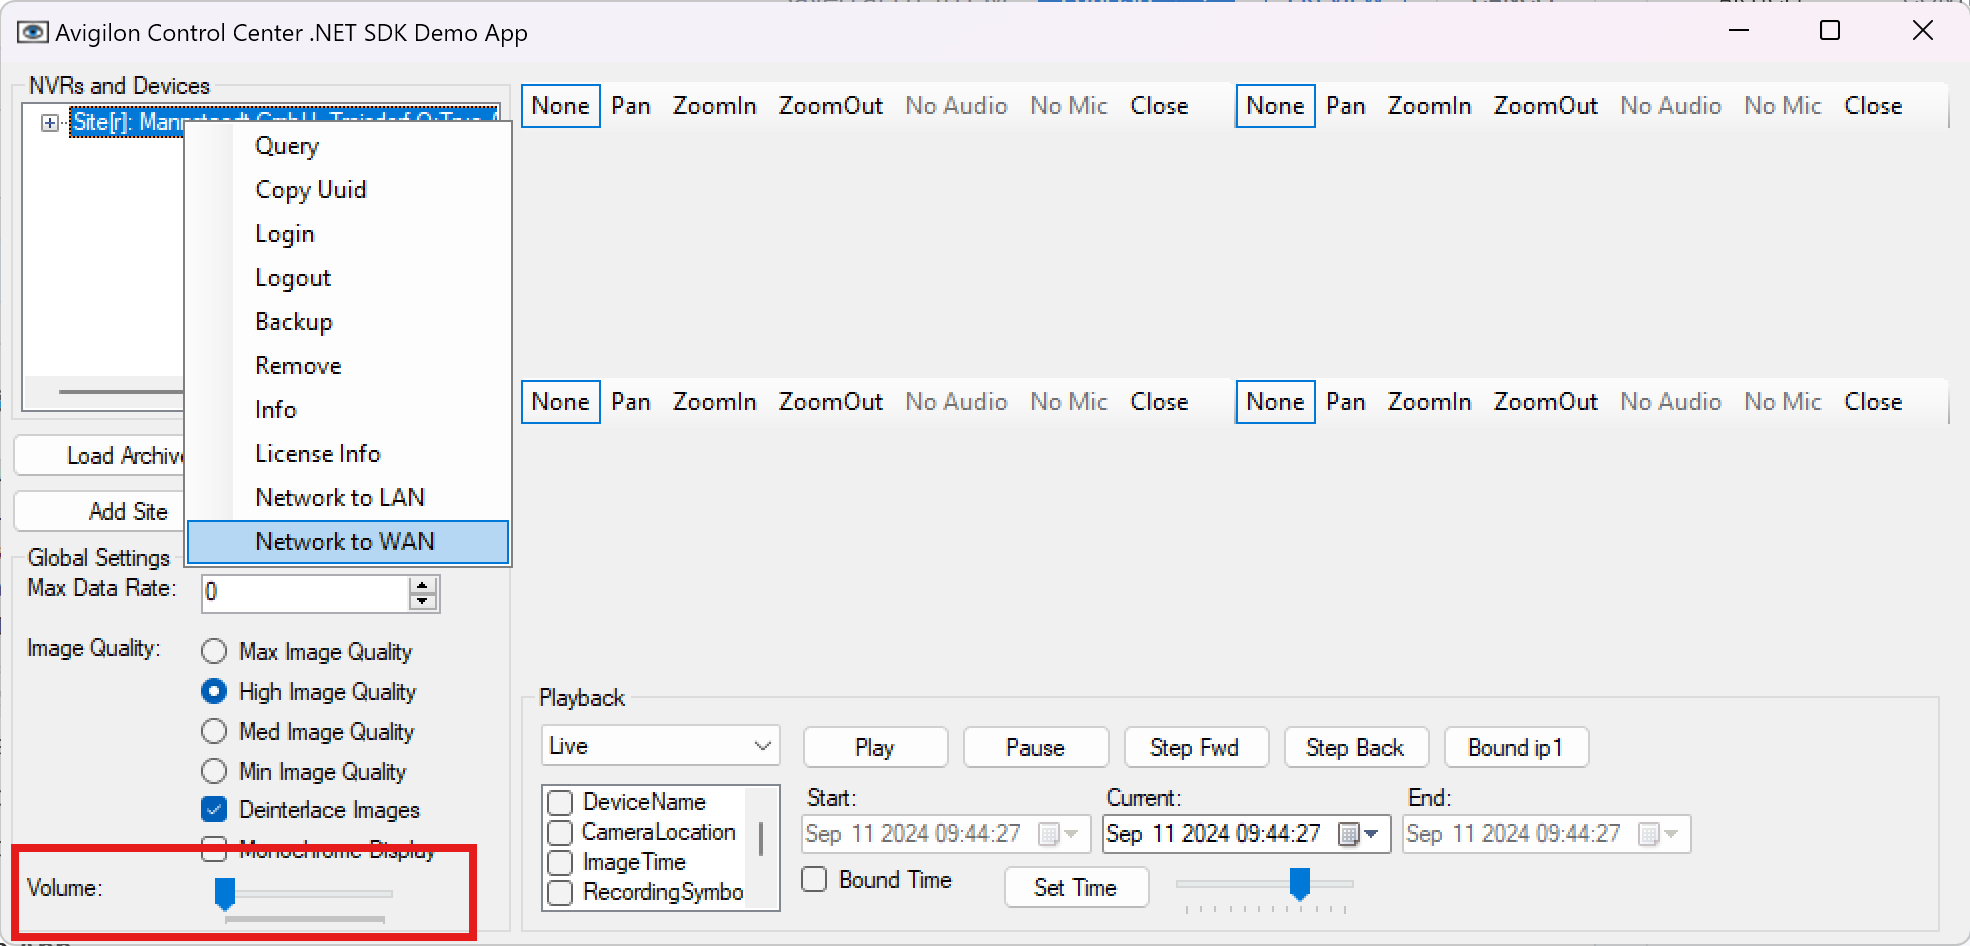
6. Right-click on the site again, select Network, and change to the WAN option.
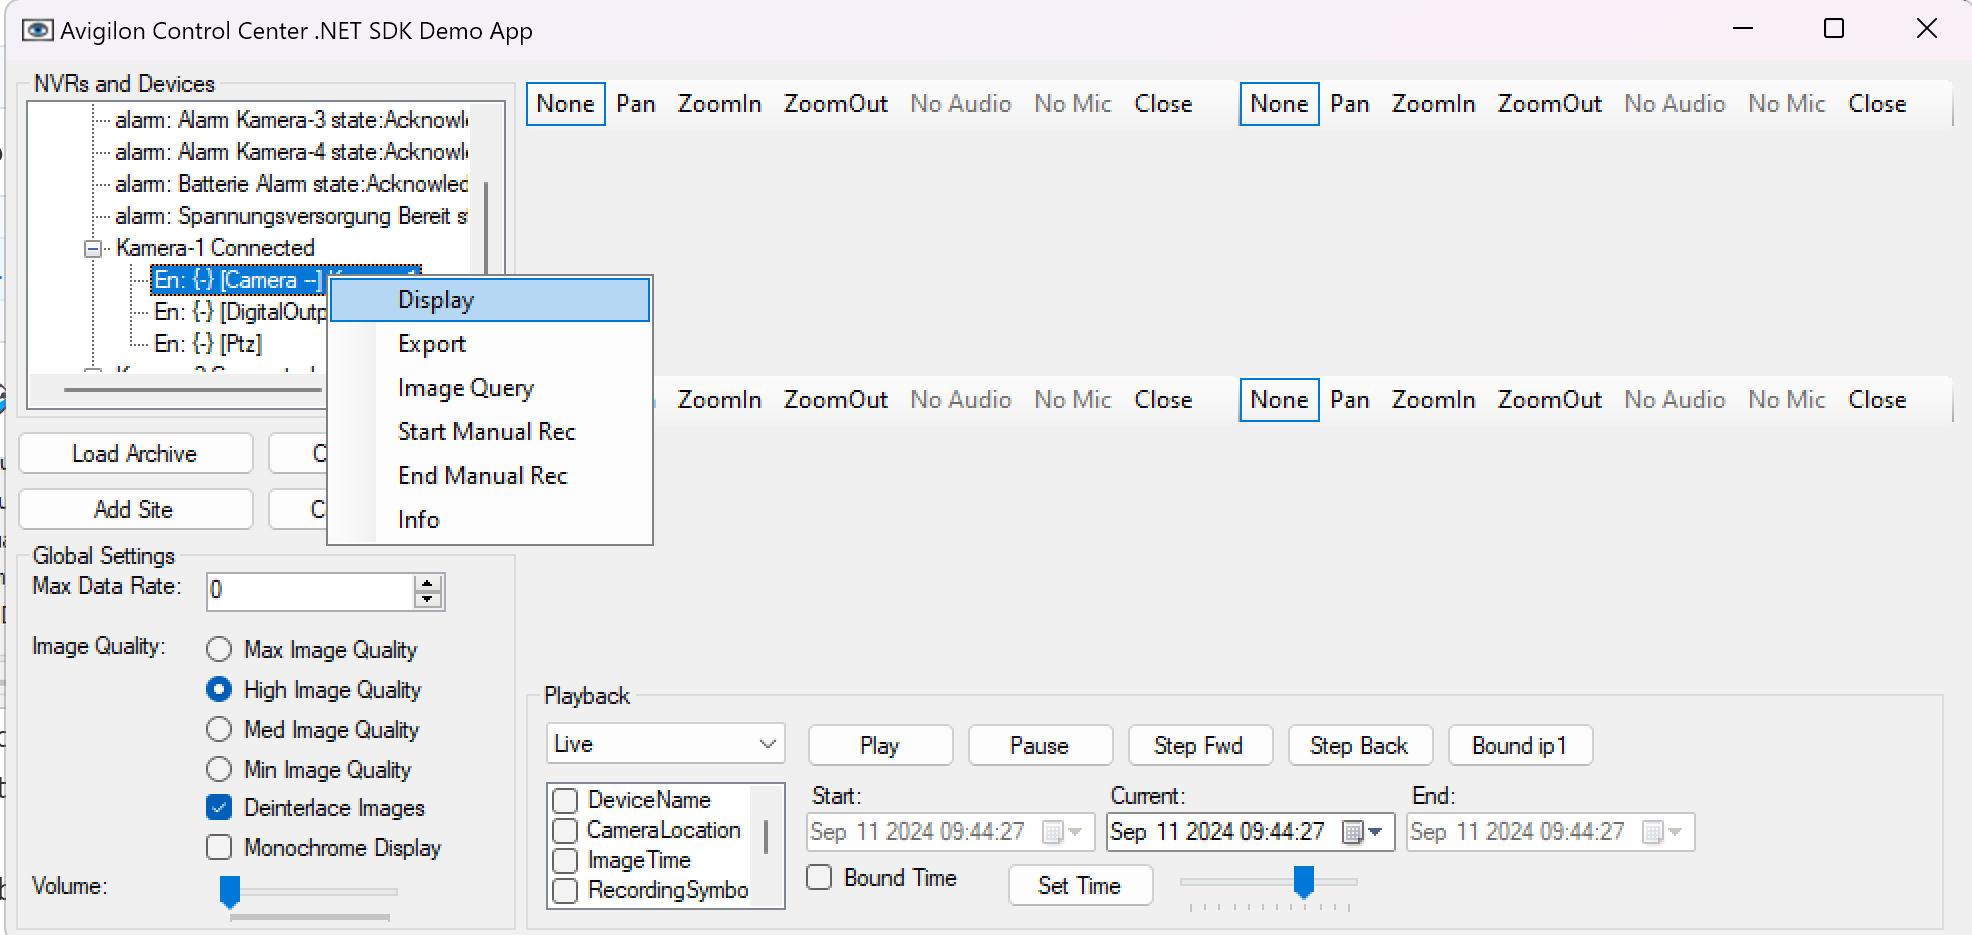
7. Select a camera, right-click, and click Display.
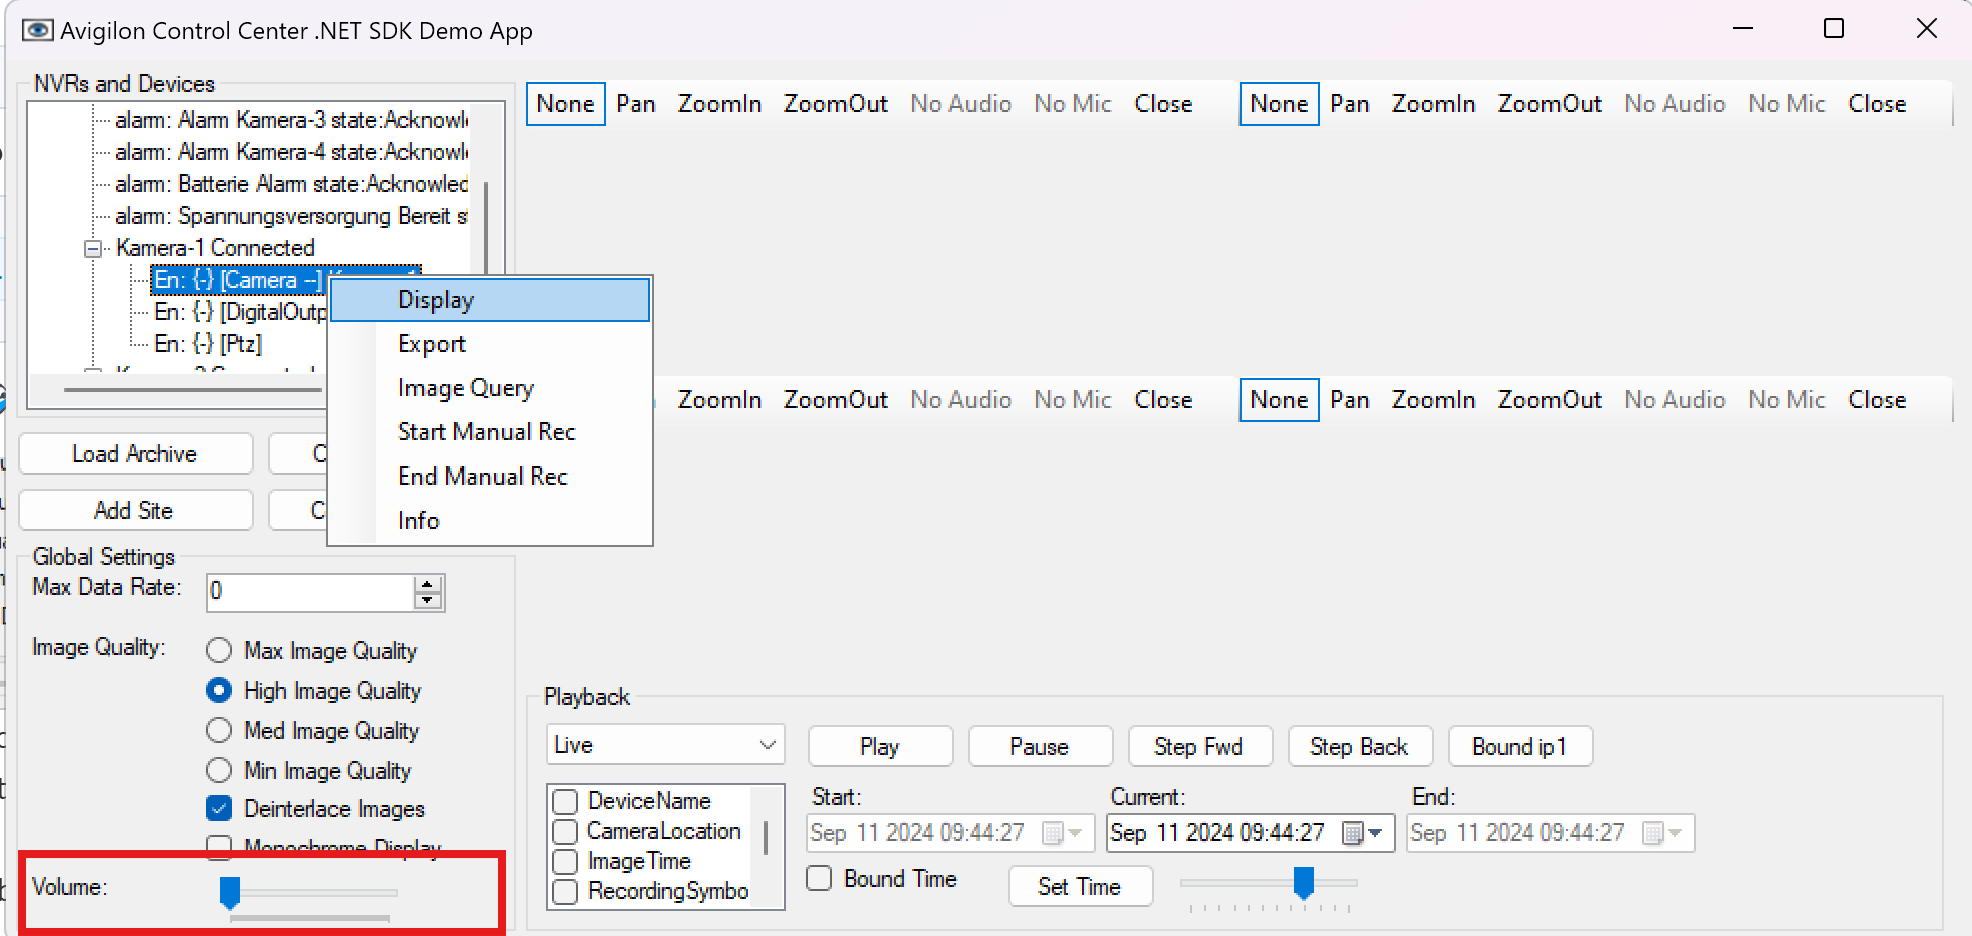
8. Use the Mic On option at the top of each camera display to talk and adjust the volume slider at bottom left.
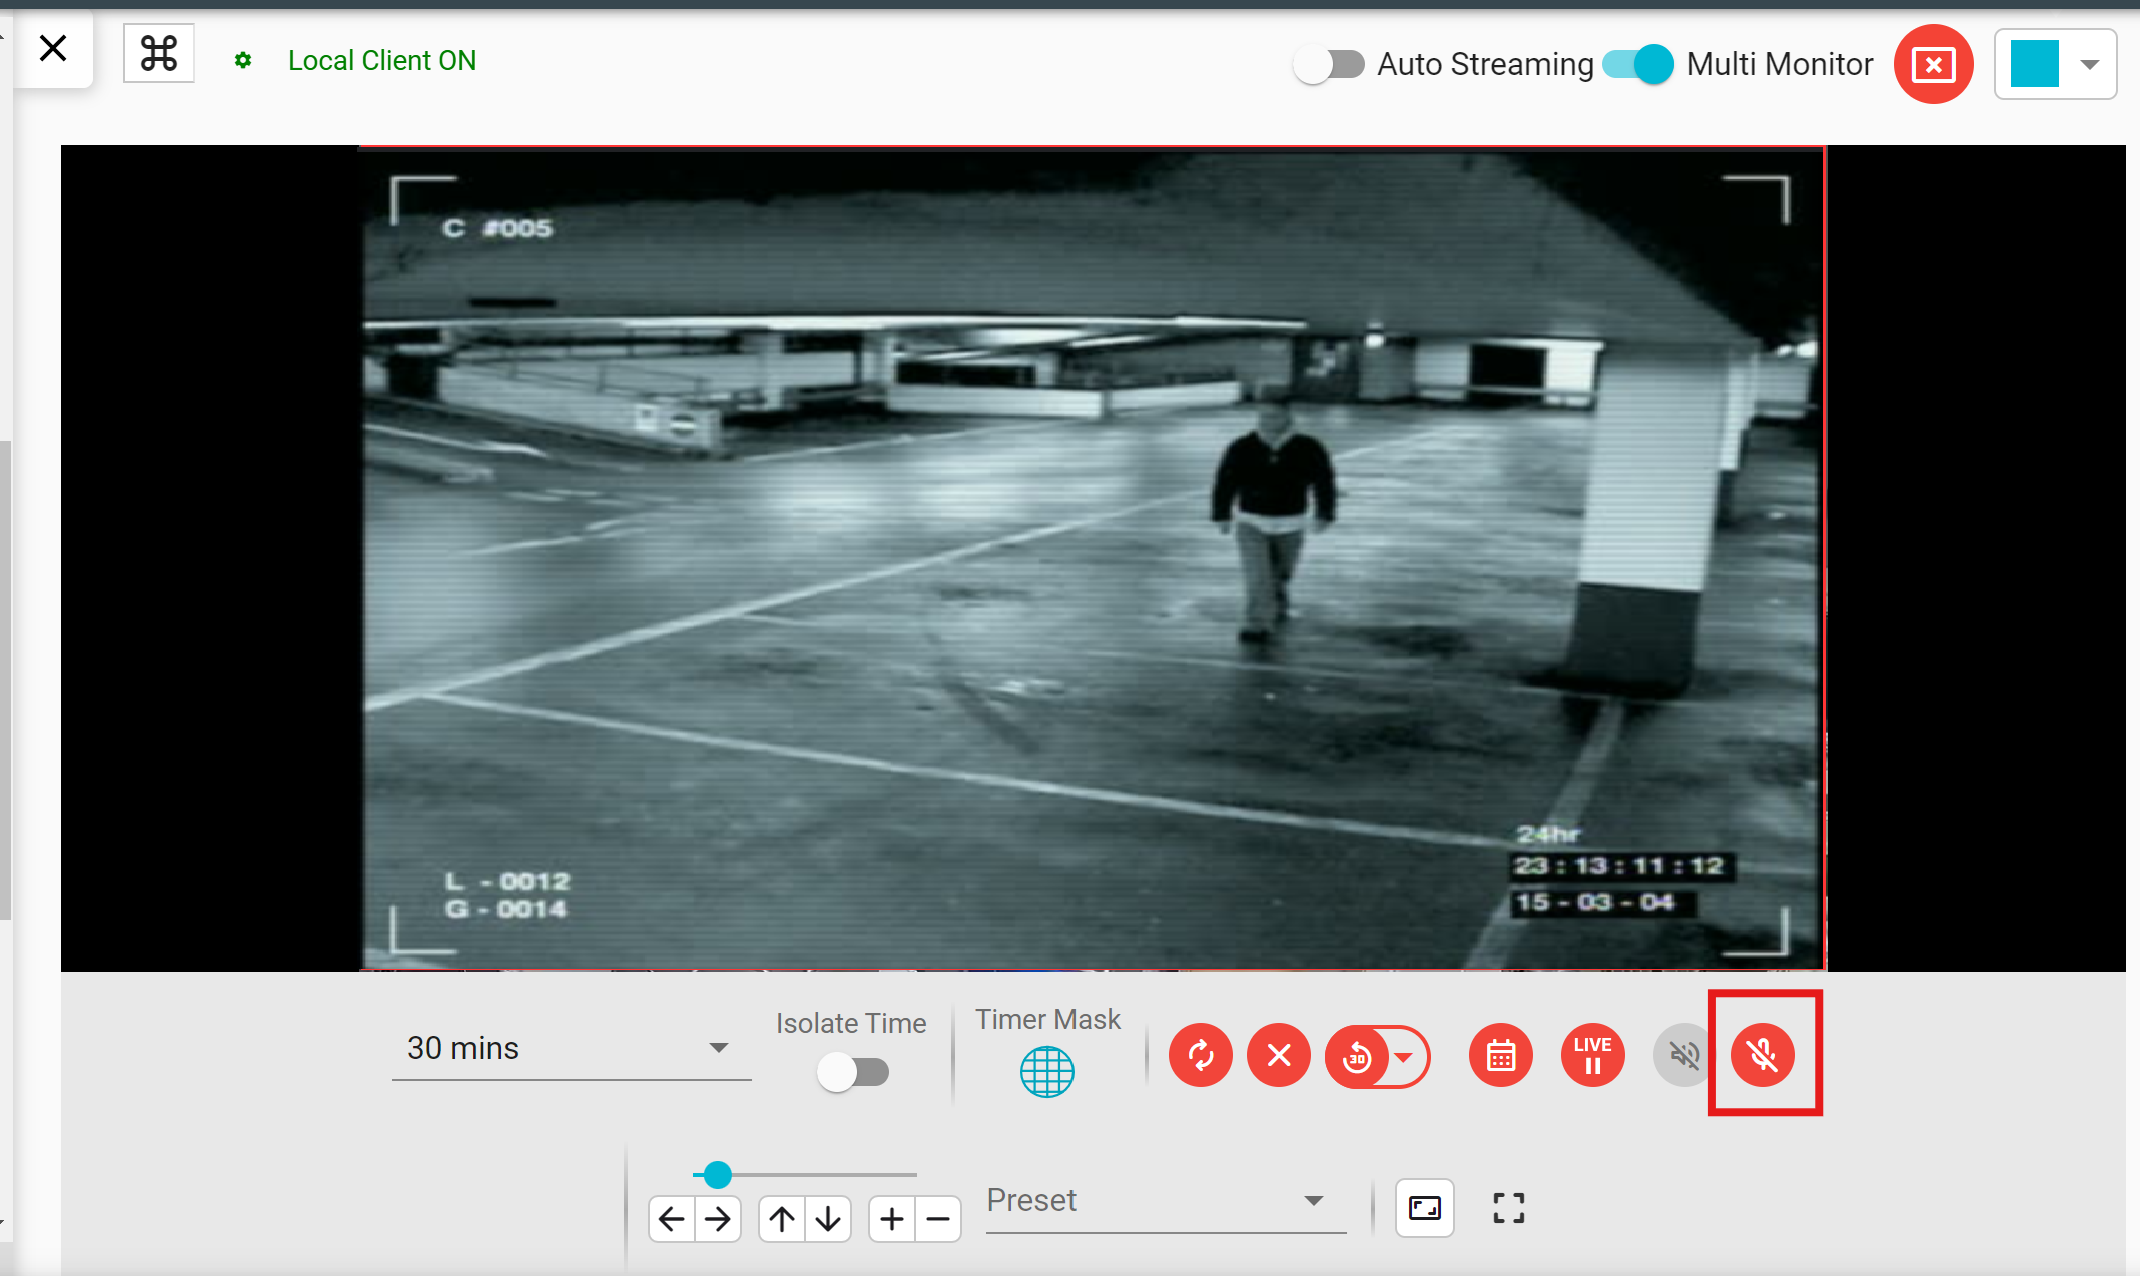
Step 3: Using Genesis Web App
1. Open the Genesis Web App: [Genesis App](https://xxx.nxgen.cloud/)
2. Navigate to the Video Viewer and select:
- Customer → Site → Device → Camera
3. Drag and drop the camera to stream video.
4. Use the Audio option to talk through the camera.
1. Download the Avigilon Test Client from the site URL: [Avigilon Software Downloads](https://www.avigilon.com/software-downloads)
2. Connect to OpenVPN to access the required network.
3. Open the Test Client and find the site using the IP address.
4. Login to the site using your credentials.
5. Access Client Settings:
- In the top corner, locate the client settings.
- Under client settings, go to the Site Networking section.
- Select the site you want and change the Connection Type to WAN (Secured).
- Click OK to save the settings.
6. Stream the Camera:
- Hover the mouse over the camera display.
- Hold the mic icon to talk.
Step 2: Using the SDK Client
1. Locate the SDK Client at: `C:\nxg\execute\integration\Avigilon\DemoApp`
2. Open the SDK Client by double-clicking the Type :`Application` file.
3. Select the Init Shared option.
4. Click Add Site, enter the IP address, and click OK.
5. Right-click on the added site, select Login, and enter the credentials.
6. Right-click on the site again, select Network, and change to the WAN option.
7. Select a camera, right-click, and click Display.
8. Use the Mic On option at the top of each camera display to talk and adjust the volume slider at bottom left.
Step 3: Using Genesis Web App
1. Open the Genesis Web App: [Genesis App](https://xxx.nxgen.cloud/)
2. Navigate to the Video Viewer and select:
- Customer → Site → Device → Camera
3. Drag and drop the camera to stream video.
4. Use the Audio option to talk through the camera.
Related Articles
Avigilon SDK Integration
Avigilon SDK Integration in Genesis: Step 1: Login to the webclient of the device in the browser Step 2: Validate the following settings of the device 1: Add Avigilon SDK Parameters to Genesis: Parameter Type: string Parameter Name: ...Genesis Audio Configuration Documentation
Introduction This document provides a comprehensive overview of the configuration process required to integrate SIP Speakers into the Genesis environment using the Genesis Audio Device Type. It outlines the necessary configuration steps, system ...Release Notes: Audio On/Off Toggle Feature
Overview We are excited to introduce the Audio On/Off Toggle Feature as part of the latest update. This enhancement improves the audio management capabilities across various streaming modules, including Salvo Page, Video Activity Search Multimonitor ...Hanwah Device Configuration issue
ISSUE: When there is an issue related to adding a device, follow the below instructions. Firstly, check if the credentials shared are Basic & Digest authentication. To check, the following URL needs to be framed. http://[USERNAME]:[PASSWORD]@[IP ...HealthCheck
BY NXGEN Camera HealthCheck Feature Documentation Camera HealthCheck Platform All Versions • Basic · Plus · Advanced March 2026 Camera HealthCheck Platform | NXGEN Technology AG | Page 1 1. Overview The Camera HealthCheck feature provides continuous ...